

Acoustic wood panels have become a go-to solution for homeowners, designers, and businesses looking to combine visual elegance with practical sound control. Whether you're soundproofing a home office, upgrading a commercial space, or giving your media room a modern makeover, installing acoustic wood panels can dramatically enhance both aesthetics and acoustics.
In this comprehensive guide, we’ll walk you through everything you need to know from preparing your space to mounting your panels for optimal sound absorption. No professional experience required just a passion for design and a few simple tools.
Why Install Acoustic Wood Panels?
Before diving into the installation process, it’s worth understanding the benefits of acoustic wood panels and why they’ve surged in popularity.
- Soundproofing and Echo Reduction: These panels are designed to absorb sound waves, reducing reverberation and background noise. This makes them ideal for media rooms, offices, studios, and even restaurants.
- Aesthetic Appeal: With natural textures and finishes, acoustic wood panels elevate modern interiors with warmth and architectural interest.
- Versatile Applications: Use them on walls, ceilings, or partitions perfect for both residential and commercial projects.
- Easy Installation: Many modern acoustic panels are engineered for DIY installation, making them accessible even for beginners.
Now, let’s explore how to install them yourself.
Tools and Materials You’ll Need
Before starting, gather the following tools and supplies:
- Acoustic wood panels (measure your wall first)
- Tape measure and pencil
- Level
- Stud finder
- Construction adhesive or panel mounting clips
- Screws and wall anchors (if not mounting on studs)
- Utility knife or fine-tooth saw (for cutting panels)
- Drill and screwdriver
- Painter’s tape (optional for layout planning)
Make sure to wear safety gear if you’re cutting or drilling.
Step 1: Plan Your Layout
The first step is to determine where and how you’ll install your acoustic wood panels. Will they cover the entire wall? Just a feature section? Ceiling accents? Depending on your space and goals, you may go for:
- Full-wall coverage for maximum sound insulation
- Accent wall installation to blend acoustics with decor
- Ceiling paneling for echo reduction in large rooms
Use painter’s tape to map out the layout visually. This step helps avoid awkward gaps or misalignment later on.
Pro Tip: For best results, stagger the panel joints or align them symmetrically depending on your interior design style.

Step 2: Prepare the Surface
Your wall should be:
- Clean and dry
- Smooth and free of dust or debris
- Free from loose paint or old wallpaper
Use a damp cloth to clean the surface. If your wall is uneven, use filler or a leveling compound. This ensures solid adhesion and a professional-looking finish.
If you’re installing over drywall, locate wall studs using a stud finder and mark them. Mounting directly to studs provides the strongest support.
Step 3: Measure and Cut Panels
Measure your wall height and width and calculate how many panels you’ll need. Most acoustic wood panels come in standard sizes, so plan how many vertical and horizontal pieces will fit.
If a panel needs to be cut:
- Use a sharp utility knife or a fine-tooth saw for clean edges.
- Measure twice, cut once.
- Always cut from the back side of the panel to prevent visible chipping.
Make sure to account for electrical outlets, wall switches, or corners.
Step 4: Apply Adhesive or Clips
There are two common ways to mount acoustic panels:
Option 1: Adhesive Installation
If you’re working with drywall or a smooth surface, construction adhesive is often sufficient.
- Apply adhesive in zigzag lines on the back of the panel.
- Press the panel firmly against the wall for 30–60 seconds.
- Wipe off any adhesive that seeps out before it dries.
Note: Adhesive installation is more permanent and may damage the wall during removal.
Option 2: Clip or Screw Mounting
For more flexibility and durability, use panel clips or screws:
- Attach mounting clips or brackets to the back of the panel.
- Screw matching clips to the wall, aligning with your layout.
- Snap the panel into place securely.
This method is ideal if you're installing panels on ceilings or want the option to remove or reposition them later.
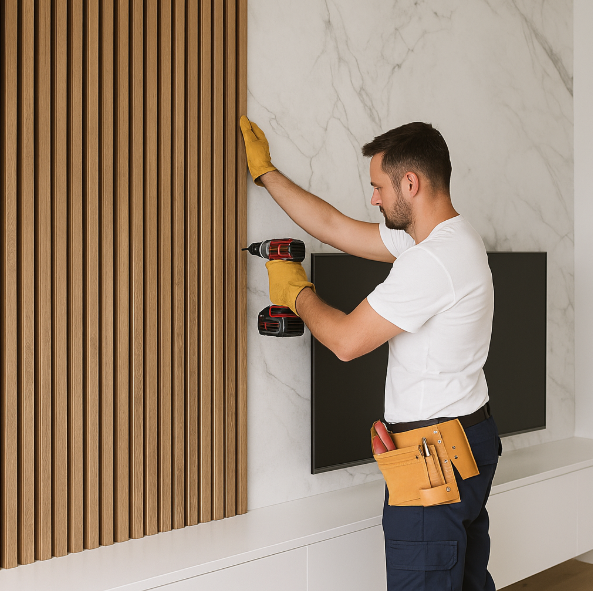
Step 5: Install the Panels
Start in one corner and work your way across the wall horizontally or vertically, depending on your design.
- Use a level to ensure straight lines.
- Leave a 1–2 mm gap between panels if expansion is a concern.
- Check alignment every few panels to avoid drift.
Press each panel firmly to ensure good adhesion or secure attachment.
Step 6: Finishing Touches
Once all panels are installed:
- Use matching trim or edge pieces for a polished look.
- Caulk any visible gaps or seams for a seamless appearance.
- Clean the panels with a dry cloth to remove fingerprints or dust.
If your panels are pre-finished, no staining or sealing is required. For unfinished wood panels, you can apply a wood-safe finish for added protection and aesthetic customization.

Best Rooms to Install Acoustic Wood Panels
While acoustic panels offer excellent benefits anywhere, some of the most popular locations include:
- Home Offices: Reduce echo and noise during virtual meetings.
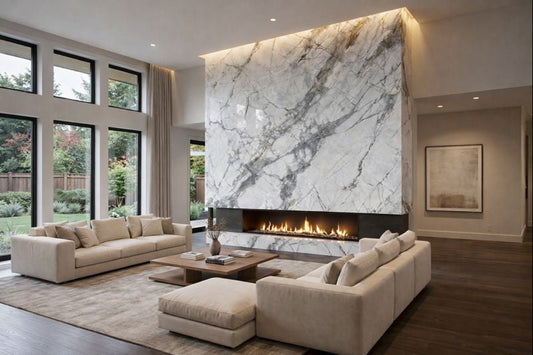
- Living Rooms & TV Lounges: Improve sound quality for home entertainment.
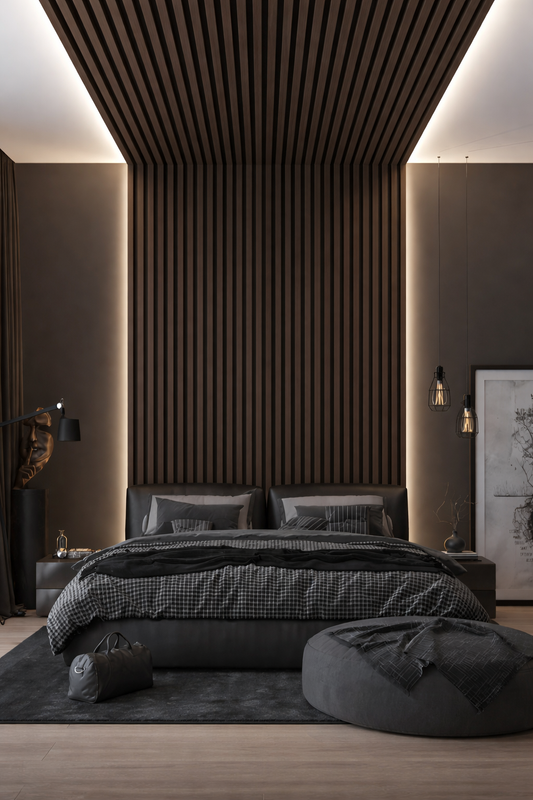
- Bedrooms: Create a cozy, quiet environment for restful sleep.
- Recording Studios or Podcasts Rooms: Get professional-grade soundproofing at home.
- Restaurants & Cafés: Control ambient noise for a better dining experience.
Explore the Acoustic Wood Panels at Accel Inc to find premium finishes suited for each environment.
Maintenance Tips for Long-Lasting Panels
Acoustic wood panels are relatively low-maintenance, but here are a few tips:
- Dust regularly with a microfiber cloth or vacuum with a brush attachment.
- Avoid harsh cleaners use a damp cloth if necessary.
- Ensure the room has good ventilation to prevent moisture damage over time.
- Periodically check for loose edges or corners, especially if installed with adhesive.
Why Choose Accel Inc for Acoustic Wood Panels?
Accel Inc offers a curated collection of premium acoustic wood wall panels that combine modern design with high-performance sound control. Our panels are:
- Crafted from high-quality MDF or solid wood
- Available in a variety of wood grains and finishes
- Easy to install with DIY-friendly kits
- Backed by expert support and installation guidance
Whether you’re designing a quiet sanctuary or a bold architectural feature wall, Accel Inc’s acoustic wood panels are your perfect match.
Final Thoughts
Installing acoustic wood panels is a rewarding DIY project that enhances both function and style. With the right tools, a bit of planning, and quality materials, you can transform ordinary walls into striking focal points that reduce noise and elevate the overall feel of your interiors.
By following this step-by-step guide, you’ll enjoy not only better sound quality but also a stunning visual upgrade that reflects modern sophistication.
Explore our collection and get started on your acoustic transformation today.
Tags:
Previous
Acoustic Wood Panels vs Foam Panels: Which Is Better for You?
Next
Modern Interior Design with Acoustic Wood Panels: A Perfect Match